Spreadsheet layout
Individual cells
The main section of the screen displays the cells in the form of a grid, with each cell being at the intersection of a column and a row.
At the top of the columns and the left end of the rows are a series of header boxes containing letters and numbers. The column headers use an alpha character starting at A and go on to the right. The row headers use a numerical character starting at 1 and go down.
These column and row headers form the cell references that appear in the Name Box on the Formula Bar (Figure 2). If the headers are not visible on your spreadsheet, go to View > Column & Row Headers on the main menu bar.
Sheet tabs
In Calc you can have more than one sheet in a spreadsheet. At the bottom of the grid of cells in a spreadsheet are sheet tabs indicating how many sheets there are in your spreadsheet. Clicking on a tab enables access to each individual sheet and displays that sheet. An active sheet is indicated with a white tab (default Calc setup). You can also select multiple sheet by holding down the Ctrl key while you click on the sheet tabs.
Right-click on the sheet tab and select Rename Sheet from the context menu. A dialog opens allowing you to type in a new name for the sheet.
Click OK when finished to close the dialog.
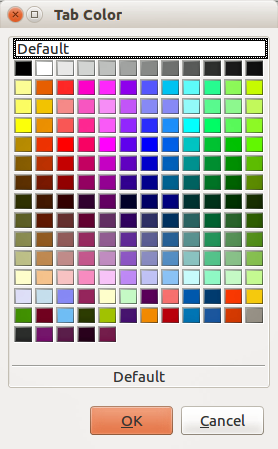
Figure 3: Tab Color dialog
To change the color of a sheet tab:
Right-click on the sheet tab and select Tab Color from the context menu to open the Tab Color dialog (Figure 3).
Select your color and click OK when finished to close the dialog.
To add new colors to this color palette, see the Getting Started Guide for more information.